Learn how to inspect a dog leash before a hike or night walk, test reflective material without overstating it, check the collar or harness connection, carry a backup, and recognize when walking gear should be retired.
Tuff Mutt
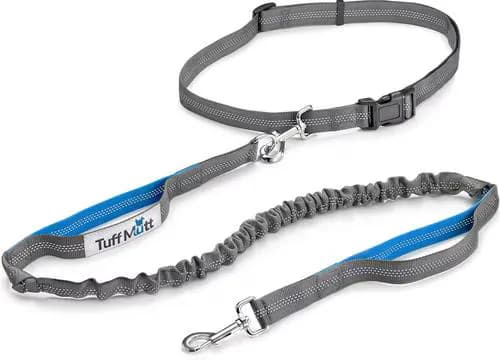
Tuff Mutt combines an adjustable waist belt, sliding belt clip, 48-inch bungee lead that extends to 60 inches, two control handles, and three seams of reflective stitching. It is documented for dogs from 25 to 110 pounds and is the strongest hands-free hiking or running candidate in this group. Chewy's own Q&A recommends hands-free use only with a trained dog accustomed to loose-leash walking; a sudden lunge transfers force to the handler's torso, and owner reports about clip failure or belt loosening make hardware checks and active use of the control handles necessary.

Start by confirming that dogs are allowed, reading the local leash rule, and considering traffic, trail width, wildlife, footing, darkness, and the team's ability to maintain control. The National Park Service advises checking whether pets are permitted and commonly calls for a leash no longer than six feet; the exact rule at the destination controls. A fixed-length leash is usually easier to keep short and predictable around roads, crowded trailheads, and blind corners than a long line or retractable model. A hands-free system such as the Tuff Mutt Hands-Free Bungee Leash may suit an experienced team on an appropriate open route, but the belt, bungee, handles, and connection points all require inspection, and hands-free use does not remove fall or traffic risk. No ordinary walking leash is climbing, lifting, rescue, or unattended-tether equipment. Choose another route or another setup when the leash type, dog, handler, and conditions do not match.
Lay the leash straight in bright light, examine both faces and edges, and run bare fingers from handle to clip without wrapping it around a hand. Look for cuts, exposed fibers, flattened or thinned areas, fuzzy abrasion, chew marks, melted or glazed spots, permanent hard bends, unusual softness, discoloration from chemicals, and a knot that was not part of the original design. Pay extra attention where the material bends around hardware, passes through an adjuster, drags on the ground, or repeatedly rubs a jacket or pack. Dirt alone is not a structural failure, but grit can conceal damage and accelerate wear. Do not cover a questionable section with tape, sew through a load-bearing area, or rely on a new knot unless the manufacturer specifically authorizes that repair. Retire the leash when structural fibers are cut, the cross-section is noticeably reduced, damage continues below a surface layer, or you cannot determine whether the core remains sound.
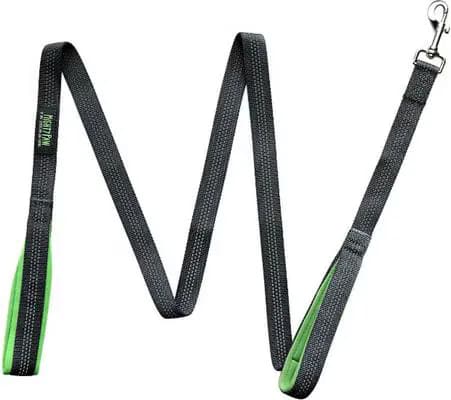
Mighty Paw
Mighty Paw's six-foot HandleX2 combines a normal padded loop with a second neoprene-padded handle about one foot from the dog, letting the handler shorten the working distance without wrapping webbing around a hand. One-inch nylon webbing, a large clasp, full-length reflective stitching, a 100-pound recommended pet limit, and a documented 110-pound safe working load support its close-control role. The leash is not waterproof or shock absorbing, and recent isolated tearing and latch reports mean the published load figure must not be treated as a guarantee against a sudden lunge.
Inspect each stitched junction separately: the main hand loop, traffic handle, clip attachment, accessory ring, bungee cover, waist-belt attachment, and any adjustable splice. Bend the area gently so the rows of stitching open to view. Watch for popped or migrating stitches, torn needle holes, separated layers, a bar tack pulling away from the webbing, stretched elastic, padding that has rotated, or a seam that is no longer symmetrical. Inspect the load-bearing webbing beneath any padding. The Mighty Paw HandleX2 Reflective Dog Leash is a useful example of why every handle must be checked: a second control handle adds another stitched load point, not an exemption from inspection. With the leash unattached to the dog, pull gradually on opposite sides of each junction and stop if it shifts, creaks, or exposes new damage. Never perform a shock-load test on the dog, and do not treat a past successful walk as proof that a compromised seam will hold again.
Remove sand and loose debris, then open and close the clip several times by hand. The gate should travel through its full range, align with the body, and return completely without sticking. Rotate the swivel and operate every lock exactly as directed. Check for rust, cracks, deep scratches, a bent pin, a widening gap, sharp burrs, loose rivets, or metal worn thin where it bears against a ring. Confirm that the clip cannot be opened merely by twisting it against the intended harness or collar ring. Ruffwear's voluntary Crux Clip recall documented a specific situation in which twisting could help leverage a gate open; that historical example is a reason to check the exact brand, model, date code, instructions, and recall status instead of assuming all clips behave alike. Do not add oil or another treatment unless the manufacturer permits it, because a lubricant can attract grit or affect materials. If a gate does not close positively every time, stop using the leash.
Pawtitas
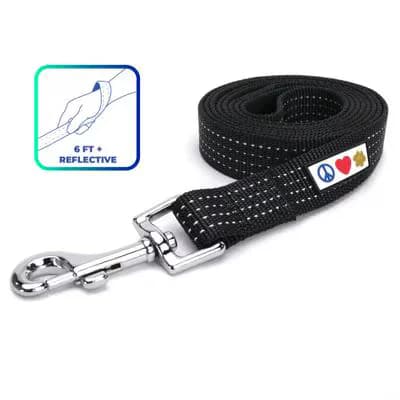
Pawtitas uses one strip of rip-stop nylon folded and reinforced on both sides, bar-tack reinforcement, nickel hardware, and sewn-on reflective stitching in a familiar six-foot format. It offers separate 5/8-inch and 1-inch widths, the deepest public-rating signal in this first group, and a directly displayed 44% price reduction on the exact black Medium/Large variant. Reflection still depends on outside light, the page does not add a traffic handle or shock-absorbing section, and conflicting visibility comments plus isolated snap-failure reports make a pre-walk hardware check essential.
Clean the reflective area, then test it in a safe darkened space, not beside traffic. Hold a flashlight near your viewing position, illuminate from several angles, rotate the leash, and compare clean, dirty, folded, or abraded sections. 3M explains that retroreflective material returns light toward its source and appears brightest to an observer near that source. It therefore needs an external light; it is not an LED, glow source, or lamp, and it will not look equally bright to every road user. The Pawtitas Nylon Reflective Dog Leash can be an additional passive visibility layer, but neither its name nor a flashlight check proves a driver will notice the dog, identify the hazard, or stop. Reflective gear does not prevent a collision and cannot make an unsafe road or blind bend safe. Use conservative routes, a separate light when appropriate, visible clothing for the handler, and attentive crossing behavior rather than turning reflectivity into a visibility-distance or accident-prevention guarantee.
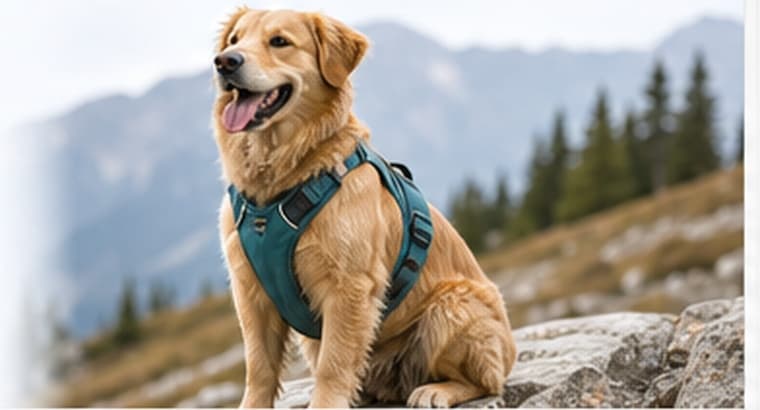
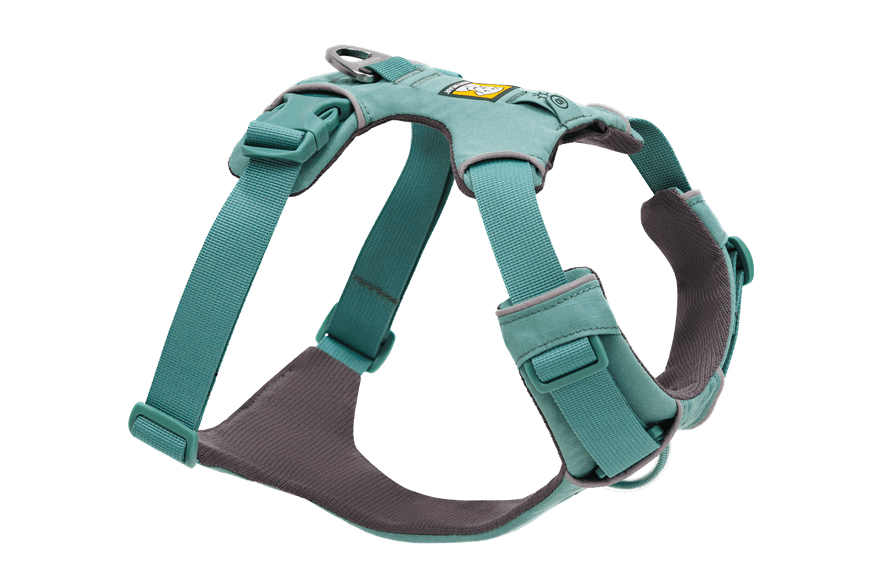
Inspect the designated leash ring, nearby stitching, buckles, adjusters, skin, and coat; a sound leash cannot compensate for damaged or poorly fitted dog-side gear. Make sure the clip fits the intended ring without crowding a buckle, bearing on a thin identification-tag ring, or rubbing the dog's body. VCA notes that a well-fitted body harness can spread force across the body and reduce pressure on delicate neck structures, while an improperly fitted harness can allow a dog to back out. The correct choice depends on the dog, route, current veterinary advice, and the exact product instructions. A leash does not replace a correctly fitted harness or collar, training, supervision, or gradual acclimation. No collar or harness is escape-proof. Stop if the dog coughs, gags, changes gait, develops rubbing, or repeatedly tries to reverse out, and seek veterinary guidance for neck, airway, skin, neurologic, or orthopedic concerns. Recheck fit after weight, coat, grooming, or equipment changes.
In a quiet enclosed area, walk, stop, turn, and change pace. Confirm the clip stays oriented, adjusters hold, the bungee returns, handles remain reachable, and nothing rubs the dog. Practice shortening the leash without winding it around fingers, wrist, or body. Then repeat a short test outdoors in daylight or a familiar low-risk area before using new or changed gear on a dark road or remote hike. Carry a simple backup leash that fits the same dog-side attachment so there is a practical exit when a clip, seam, or handler system fails. Inspect that spare by the same routine before packing it. Carry water and plan a turnaround threshold rather than extending the trip after a defect appears. A backup is not permission to continue a risky outing. End the walk if equipment changes, visibility deteriorates, the dog tires, wildlife or traffic increases, or the handler can no longer maintain calm control.
Afterward, rinse away salt, mud, or grit when allowed. Ruffwear recommends warm water, mild soap, thorough rinsing, and air drying, but exact model instructions control, especially for elastic, leather, lights, magnets, or specialized hardware. Dry the leash fully before storing it out of direct heat, prolonged sunlight, moisture, and the dog's reach. Photograph serious abrasion to track change. Retire the leash after a failed gate, structural cut, separating load seam, severe corrosion, unexplained deformation, recall, or uncertain high shock load; cleaning cannot restore lost strength. Finally, keep walking and vehicle restraint roles separate. Center for Pet Safety crash testing addresses purpose-built automotive restraints, not ordinary walking leashes. A walking leash and everyday walking harness do not become crash protection when clipped inside a car. Use a suitable, correctly fitted vehicle restraint or secured carrier as directed; no product makes a crash harmless. The pre-walk inspection ends with clear limits, not a promise of safety.
We used these primary or authoritative references when checking this guide. Product instructions and local rules can change, so confirm details that affect your trip.
Yes. It explains the main decision points in plain language and links to relevant product reviews when published options are available.
No. Prices, coupons, stock, and shipping terms can change. Confirm the current offer on the retailer page before checkout.
Related content