Use veterinary assessment, venue rules, progressive training, exact manufacturer fit checks, conservative weather limits, and a rehearsed emergency stop instead of assuming any bike attachment makes the activity safe.
Start with suitability, not equipment. Tell your veterinarian the planned surface, distance, speed, temperature range, and whether the dog would run beside the bicycle, pull from the front, or ride as a passenger. Growth and skeletal maturity, body condition, gait, paw health, breathing, heart health, medication, previous injuries, heat tolerance, and behavior around wheels, dogs, wildlife, and traffic all matter. Puppies, dogs with pain or limited mobility, flat-faced dogs, and dogs that are easily frightened or reactive need especially conservative assessment; some should not perform sustained running even if a product fits. A manufacturer's minimum age or weight is a product-use condition, not veterinary clearance. The rider must also be able to brake, steer, dismount, and restrain the combined system without expecting perfect behavior. If running is unsuitable, a correctly sized basket or trailer may work; if secure transport remains stressful or medically unsuitable, leaving the dog with a trusted caregiver is safer.
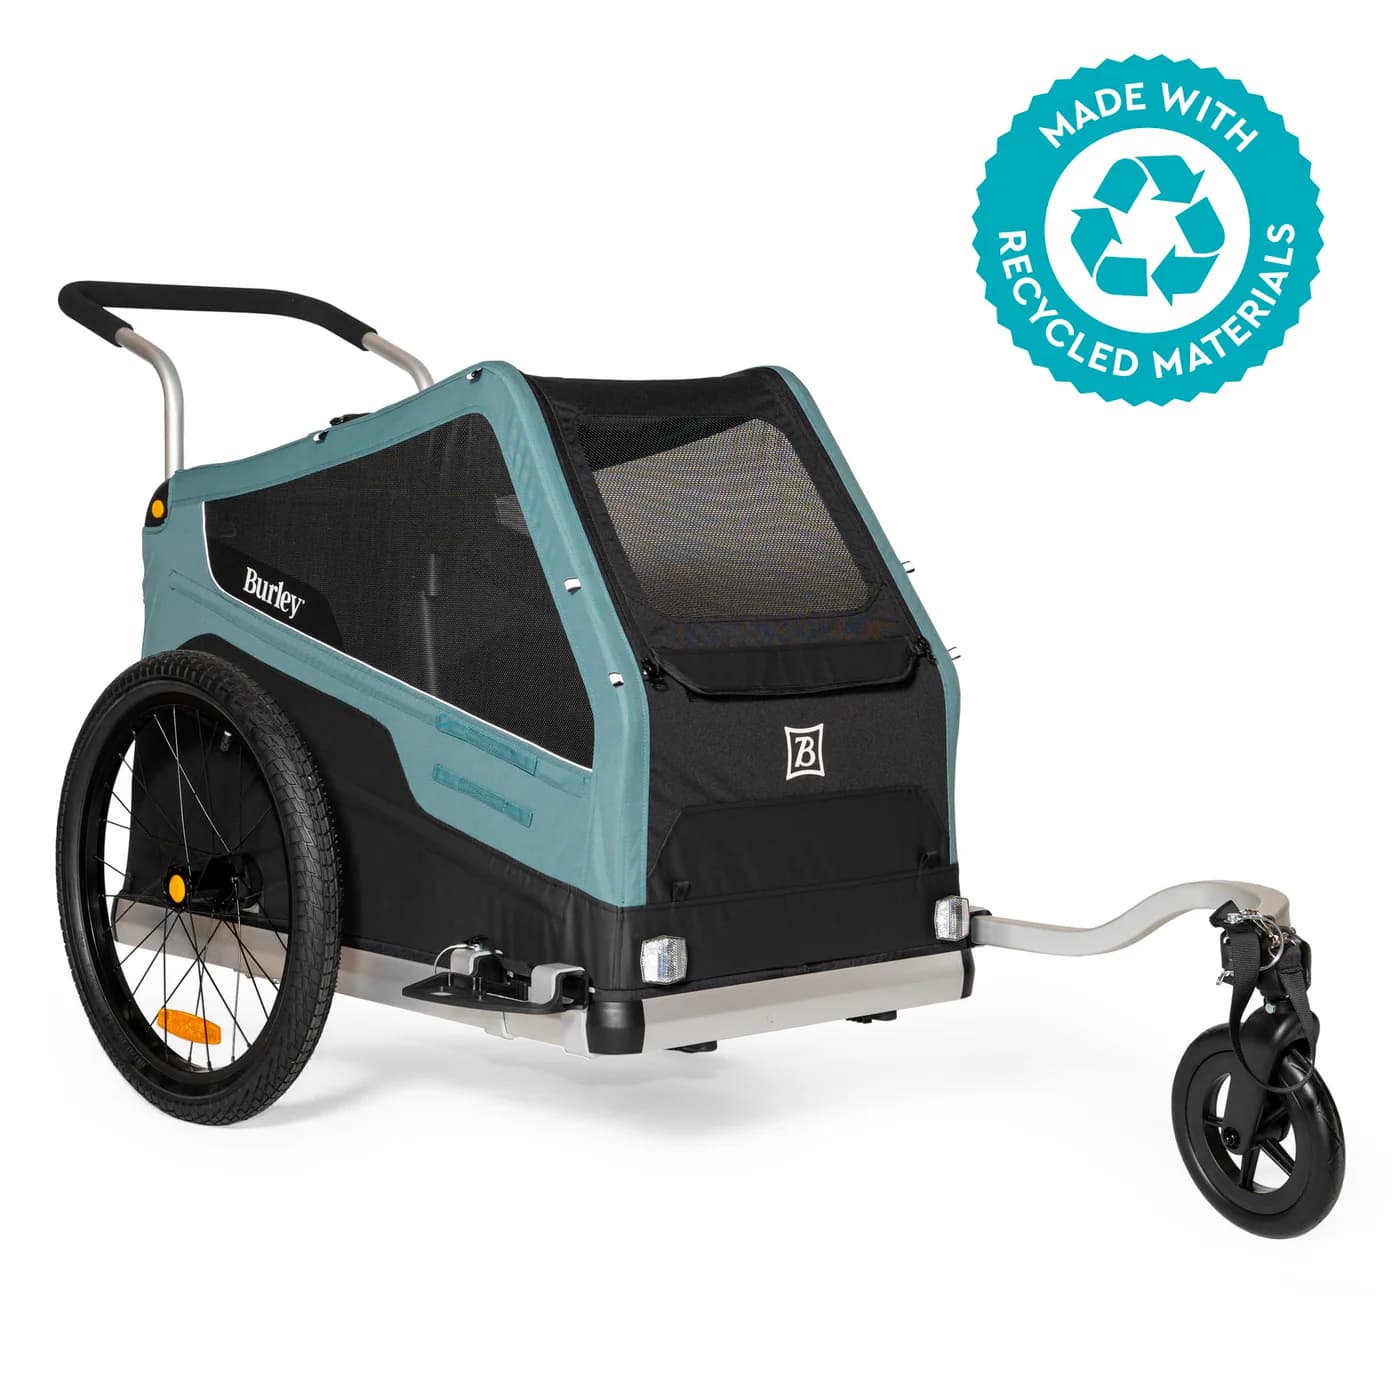
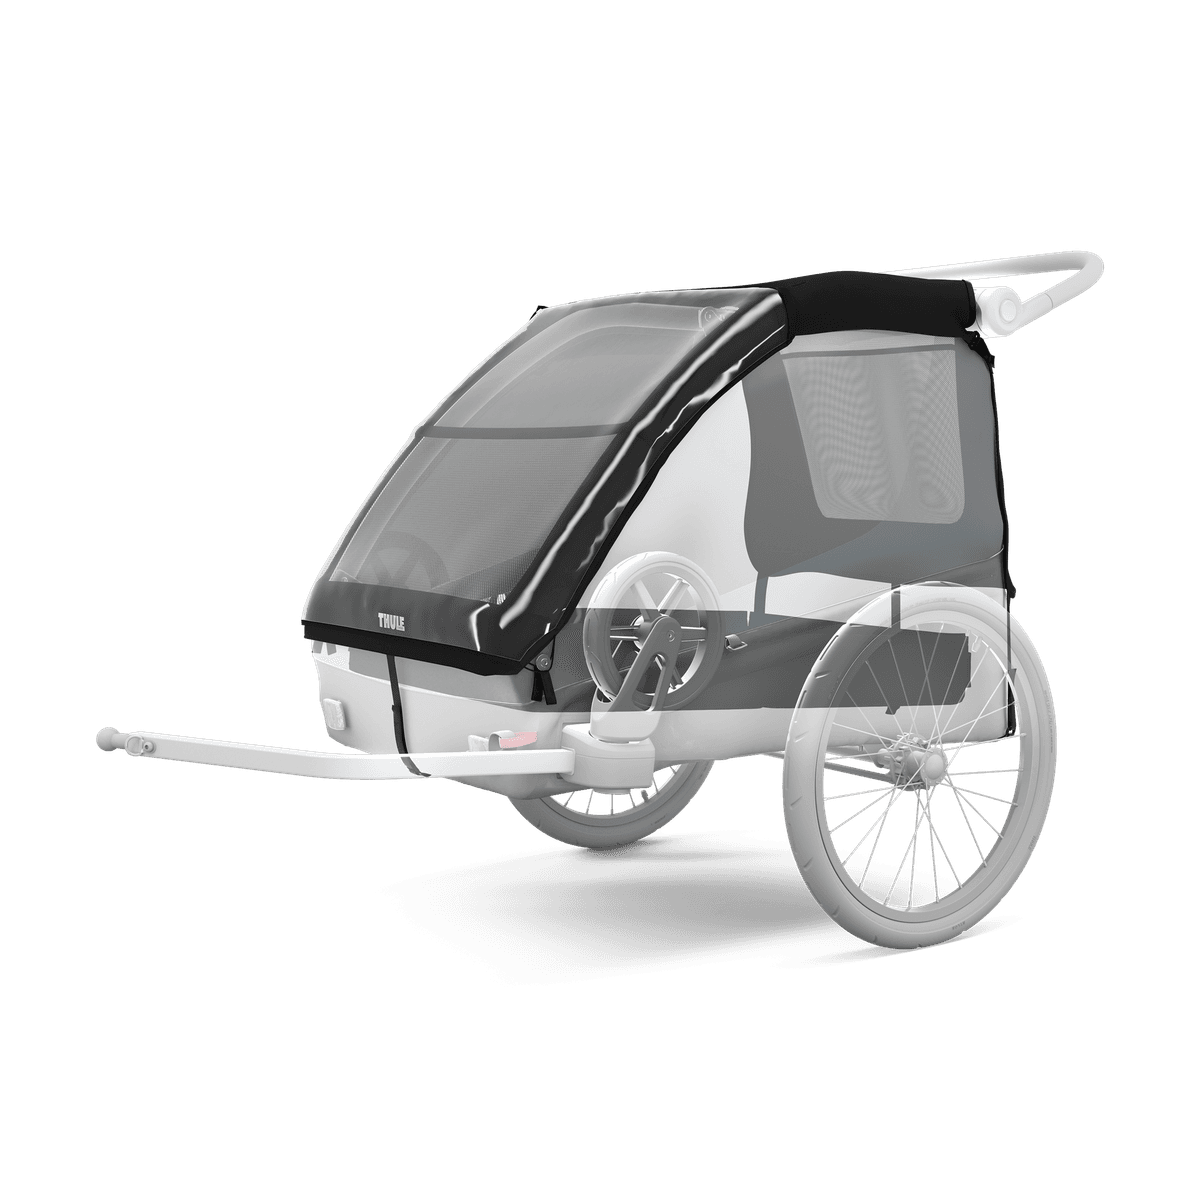
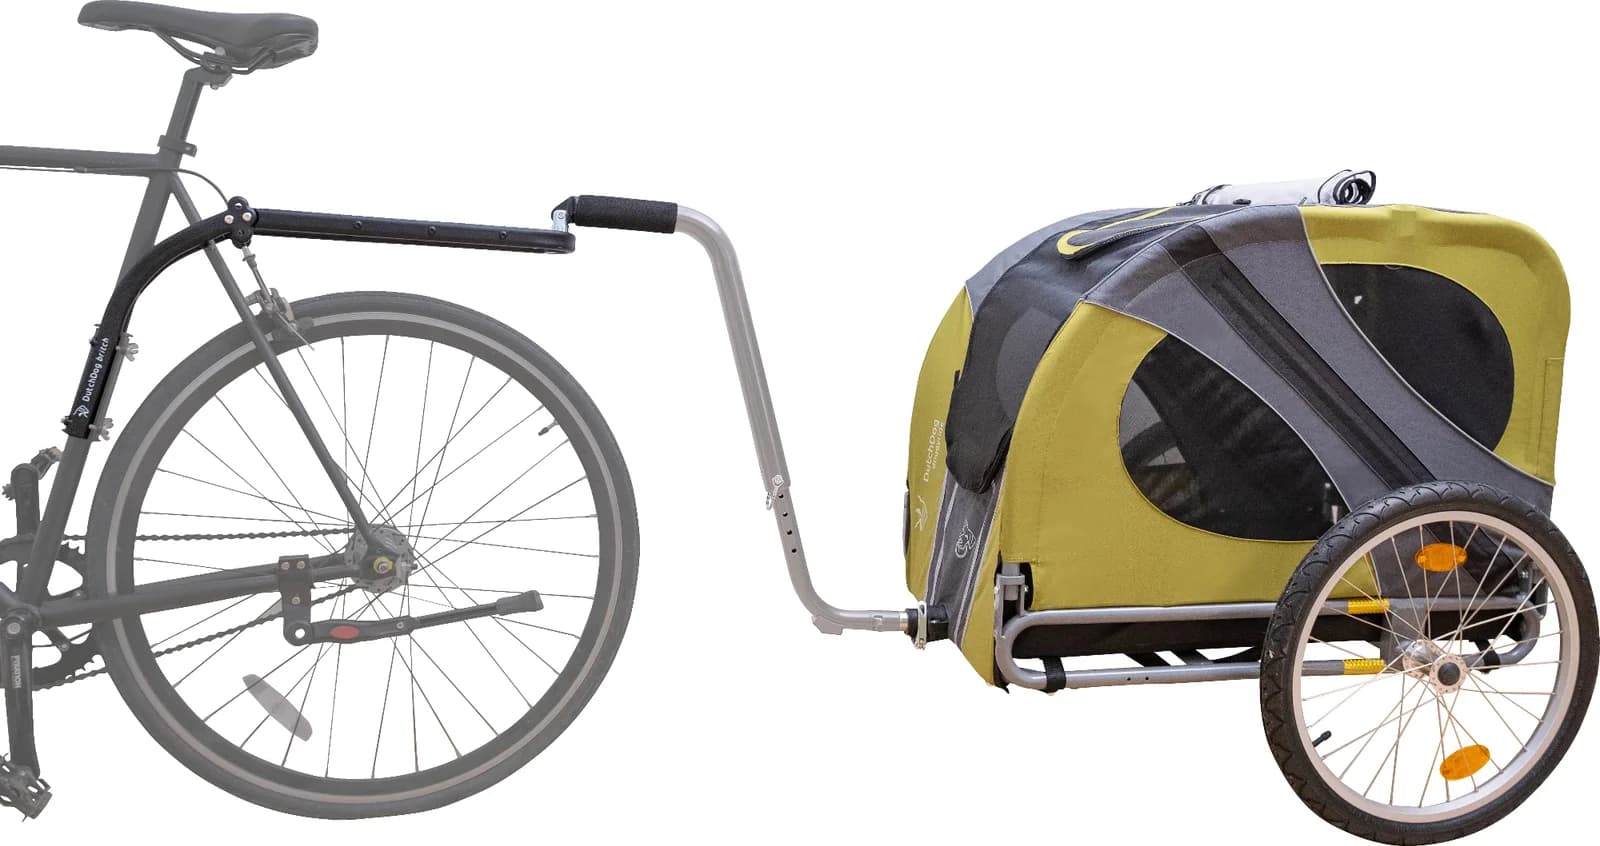
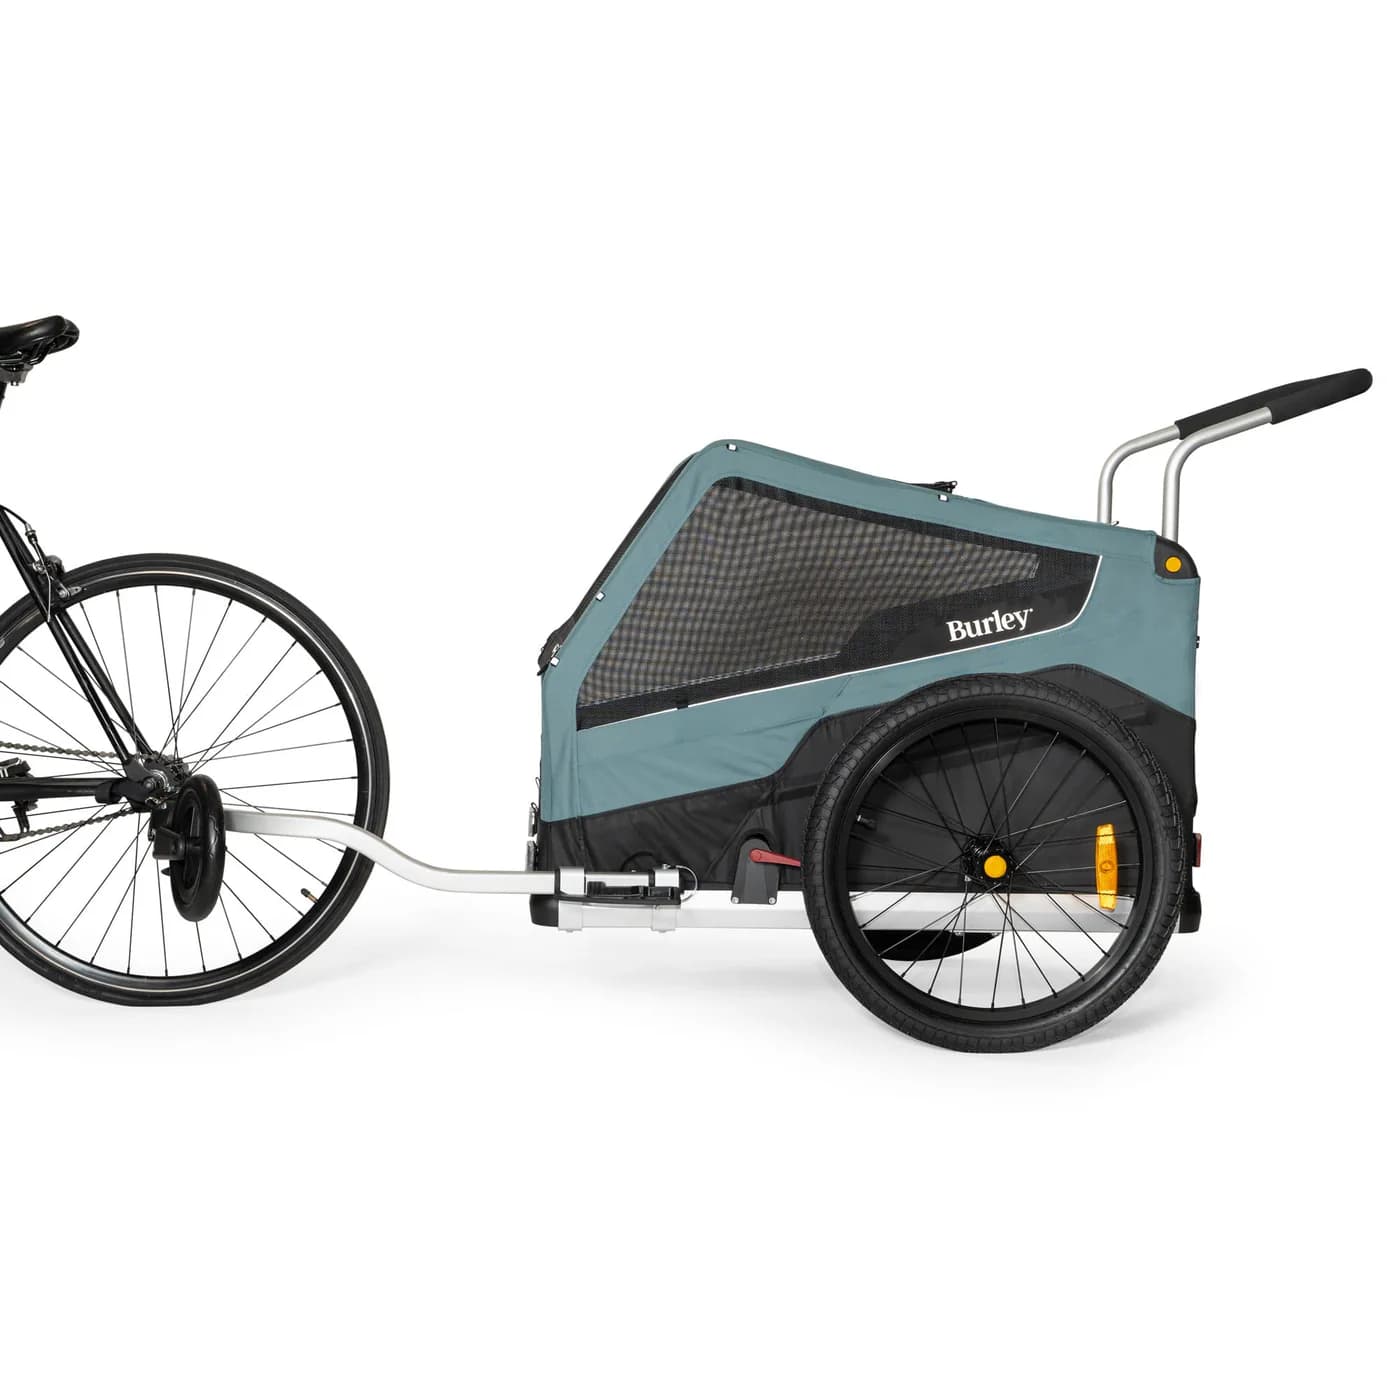
Side-running connectors, front-pull bikejoring equipment, baskets, and trailers are not interchangeable. A side connector keeps a trained dog beside the bicycle with a short, wheel-clearing connection; follow the maker's side, tube, clamp, and rider/dog restrictions. Bikejoring places a conditioned dog in front, using a pulling harness, bungee line attached to the bicycle frame, and an antenna that manages slack near the front wheel. It requires sport-specific commands and a suitable venue; an Inlandsis front antenna is explicitly not intended for a dog beside or behind the bicycle. A basket is for a dog that fits both published weight and interior dimensions; the bicycle must support the total load, and any internal tether should attach to a fitted harness, not a collar. A trailer adds room and separates the dog from steering, but hitch compatibility, payload, ventilation, enclosure, turning width, and braking distance still matter. Burley's 75- and 100-pound figures are model capacities, not proof that every dog/bicycle combination is safe. Never hold a normal leash in one hand or wrap it around the handlebar.
Permission cannot be assumed because a route allows bicycles and dogs separately. Check the land manager, municipality, and current traffic rules for pet access, bicycle access, e-bike class, leash length, speed, helmets, seasonal closures, and whether an animal may be attached to a moving bicycle. National Park Service rules show the variation: its general pet guidance says to check the specific park, while Acadia's carriage-road page permits leashed dogs but states that bicycling with a dog is not recommended. Choose a quiet, wide route with good sight lines, low vehicle exposure, room to stop, and an exit option if the dog becomes uncomfortable. Avoid crowded paths, steep descents, blind corners, livestock, and wildlife concentrations during early training. Yield under local rules, communicate before passing, slow to walking speed when space narrows, and dismount whenever a safe pass cannot be completed with the dog fully controlled.
Build skills in low-pressure steps. First teach reliable cues for stop, wait, slow, turn, leave it, and moving on one assigned side without a bicycle. Let the dog inspect a stationary bicycle, hear its drivetrain and brakes, and walk near it on an ordinary leash. Then install the selected system exactly as instructed, walk the bicycle, practice turns and U-turns, and stop if the dog freezes, crosses toward a wheel, surges after a distraction, or tries to escape the harness. Only then add very short, slow riding in a traffic-free area. Bikejoring needs a distinct vocabulary for starting, direction, slowing, and passing; it should not be improvised from side-running training. For a basket or trailer, reward voluntary entry while the bicycle is stabilized, practice closing the enclosure, then push the bicycle before riding. Never force a frightened dog into motion. Increase only one variable at a time—duration, speed, surface, or distraction—and retain walking as the fallback.
Use the exact manual for the bicycle, attachment, carrier, harness, and axle or frame adapter. Before each ride, check tires, brakes, steering, wheel retention, frame and seatpost security, hitch, safety strap, clamp bolts, quick releases, springs, cord, antenna, trailer wheels, cover, flag, basket fasteners, and harness stitching. Measure the required tube or axle instead of trusting “universal” language. Do not clamp a carbon frame, moving dropper-post section, brake hose, or cable unless both manufacturers permit it. Include dog, carrier, and cargo when checking bicycle and rack payload. A published capacity is a compatibility ceiling, not an independent crash-test result or a promise of stable handling. Test a new installation empty at walking and low riding speeds, then repeat with the dog in a closed area. Connect only to the harness point specified for that mode; collars, head halters, and prong collars concentrate force on vulnerable areas. If a fastener loosens, line frays, wheel clearance changes, or the dog can reach a tire, stop and repair the system before riding again.
Running beside or ahead of a bicycle can exceed a dog's safe workload quickly because the rider maintains speed with less effort. Use short sessions, water and recovery breaks, and a pace at which the dog moves comfortably rather than being pulled or left behind. RSPCA Australia identifies heat, humidity, poor airflow, lack of shade or water, excessive exercise, and flat-faced anatomy as heatstroke risk factors. Ride in cooler conditions, check the actual surface, and cancel when heat, air quality, ice, deep sand, sharp gravel, salt, or rough pavement creates avoidable risk. A hand-on-pavement check is only a screening tool, not a guarantee that sustained running is safe. Inspect pads, nails, gait, and breathing before, during, and after riding. Enclosed baskets and trailers can also accumulate heat: maintain ventilation and shade, keep the dog supervised, and never leave a dog parked inside. Cooling products do not justify continuing in unsafe conditions.
Wear a helmet, keep both hands available for steering and braking, and use lights or visible equipment when needed. Start below the dog's apparent capacity and preserve braking margin for a sudden stop. Keep a side-running dog in the trained position and away from pedals, spokes, the front wheel, parked cars, and the traffic side whenever local layout allows. Slow before turns and crossings; a trailer tracks inside corners, adds width, and increases stopping distance. Avoid fast descents with a dog running beside the bicycle, because the dog cannot choose a slower pace without being dragged; dismount when terrain or speed exceeds control. In bikejoring, ride only in an appropriate area with clear forward space and sport-specific control. Do not add a second dog unless the complete system is designed for it and both dogs are trained for that configuration. If a line slackens near a wheel, a cover opens, or the dog changes gait, brake smoothly and stop instead of fixing it while moving.
Practice a calm emergency sequence: give the stop cue, brake progressively in a straight line, put a foot down or dismount, stabilize the bicycle or trailer, and only then handle the dog or connection. Never drag a dog that stops, and do not release it into traffic or an unfenced area. End the session for limping, pad damage, repeated stumbling, unusual reluctance, disorientation, coughing, vomiting, marked weakness, or breathing and panting that do not settle with rest. Difficulty breathing, collapse, seizure, major bleeding, suspected heatstroke, poisoning, or significant impact requires urgent veterinary direction. AVMA first-aid materials emphasize that first aid should be followed by veterinary care; carry emergency contacts, identification, water, a veterinary first-aid kit, and a pickup plan rather than treating a kit as diagnosis. After riding, recheck paws, gait, hydration, behavior, harness rub points, bolts, cords, hitch, wheels, and frame contact areas. Record problems before the next outing. If critical hardware fails, walk or arrange transport home—do not improvise a moving repair.
We used these primary or authoritative references when checking this guide. Product instructions and local rules can change, so confirm details that affect your trip.
Yes. It explains the main decision points in plain language and links to relevant product reviews when published options are available.
No. Prices, coupons, stock, and shipping terms can change. Confirm the current offer on the retailer page before checkout.
Related content